Installing CentOS on Virtual Box, Part 4: Reboot
This is the fourth part of a series. Part One – Installing CentOS goes through the initial installation and settings of the Virtual box. Part Two – Installing CentOS talks about how you should configure the Hard drive. Part Three – Finishing the Install covers the other choices made during installation.
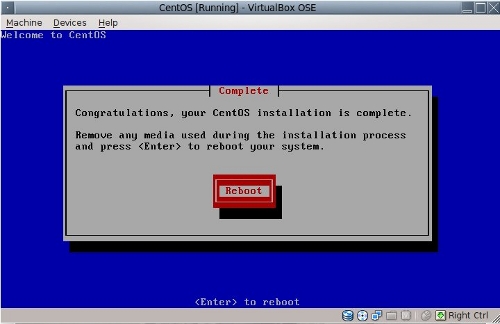
After I rebooted and logged in with the root password that I created during installation, CentOS presented me with a dialog for fine-tuning choices, most of them related to its mission to serve as a server.
- Authentication–In a network, there are several different methods for managing passwords and rights.
- Firewall–adjust security levels, white and black lists, and the like.
- Keyboard Configuration–that is keyboard language choice.
- Network Configuration–choose network interfaces in a machine with multiple interfaces.
- System Services–choose services to run at startup.
- Timezone Configuration–select timezone.
- X Configuration–set multiple monitors, display resolution, and the like.
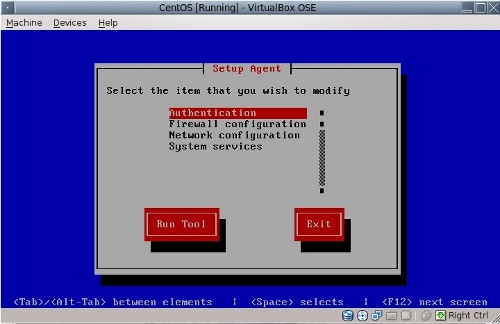
I selected “Exit,” since I was not setting up an enterprise server. It appears to be “run once,” utility but it can be invoked from the command line by issuing the command, setup agent.
First, I checked for updates by issuing the command yum update (CentOS uses yum–the Yellowdog Updater Modified to manage software packages). (Click for a larger image.)
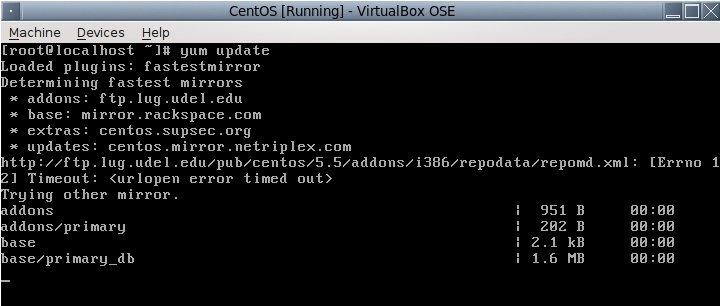
I also added a user without administrative privileges with useradd [username], followed by passwd [username] (most Linux distributions I have used combine the two, so that the adduser command requires entering the password.
If a GUI is installed, it can be started by issuing the command, startx. Note that most Linux distributions designed to appeal to new users, such as Ubuntu, Linux Mint, and Fedora, boot into the GUI by default.
Yesterday, I integrated my CentOS virtual machine into my network, with an eventual goal of being able to point it at my network printer. Here’s how I did it.
When I installed, I selected NAT (network address translation) for the ethernet connection in the CentOS setting dialog. As best as I can understand it, with NAT, VirtualBox gives the virtual machine a phoney-baloney network address and allows it to piggyback on my ethernet connection to reach the Big Wide World. It’s similar to plugging into a network port at a company; you are not part of the company network but you can still hit the internet.
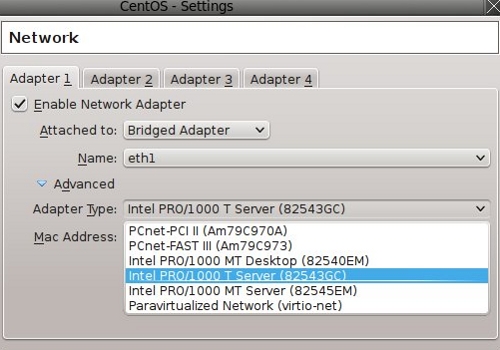
I changed the NAT to a “Bridged” connection. A bridged connection allows the VM to actually use my router and employ an ip address within my local network.
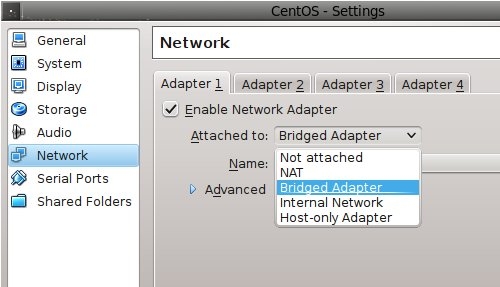
Network settings are changed in the settings dialog for that specific VM and can only be done while the VM is stopped (different VMs can have different network settings). The change is effective when the VM is restarted.
Once I selected “Bridged,” several different “Adapter Types” were available. Not knowing which one to choose, I worked my way down the menu, testing each one till I found the one that worked:
And here I am pinging my real printer from my Virtual Machine:

Random Notes:
Graphical tools exist for all the command line tools mentioned above.
If I remember correctly, the CentOS graphical install presented a dialog for adding a regular, non-root user after the first log on, as well as a graphical equivalent of the “setup agent” mentioned above.


