Installing Slackware Linux, Part 2: Partitioning the Hard Drive
Update: I changed “formatting” to “partitioning” in the title to make it more descriptive.
This is the second of several posts on installing Slackware Linux. The first post is here.
Before installing Slackware or any operating system, you have to have the installation media. I use CDs because some of my computers are old enough that they do not speak “bootable DVD.” For most Linux distributions I try, I simply download *.ISO files and burn CDs from them. Almost every DVD/CD burning program includes the ability to burn CDs from *.ISO files, but sometimes you have to hunt around a bit to find it.
(If you haven’t burned from an *.ISO file before, read the burner help file; all that copying the *.ISO to the CD does is give you a backup of the file, not a usable disk. I know; I’ve done it even after I knew better).
The computer needs to be set to boot from the CD drive before booting from the hard drive; this setting is found in the BIOS. See the note at the end of this post for pointers about setting the computer to boot from the CD.
Slackware 13.0, which I used in this test, comes in a six CD set; three of the CDs are installation CDs. Three contain extra programs and source code (under the terms of the GPL, source code must be made available to users–hence the term “open source”). Slackware does not have a live CD, which allows you to boot from the CD and test the OS without installing it, but there is a Slackware-based live CD project called “Slax.”
So, let’s boot this puppy.
The Slackware installation routine has not changed since I first started using Slackware with v. 10.0 five years ago. The screens contain lots of useful information; I recommend reading them as they appear. (Click on any of image below for a larger display–exactly what to click depends on your browser.)
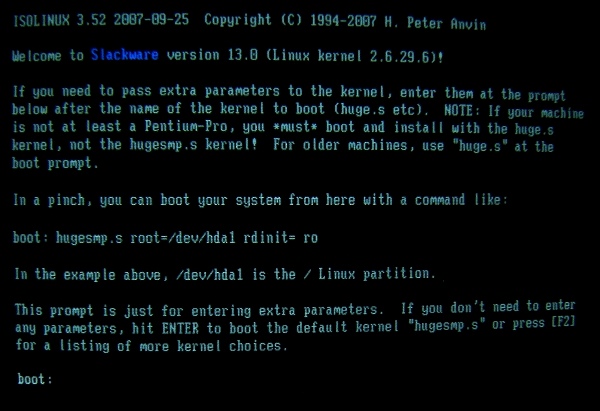
The first screen allows you to enter extra parameters for the boot sequence. I’ve never needed to, so I’ve never had to learn what they meant.
Slackware defaults to a US Keyboard Map. At the next screen, you can press “1” to select a different keyboard layout or hit enter to continue.

The next screen reminds you that the hard drive must be prepared before installing software. That preparation is the primary subject of this post.
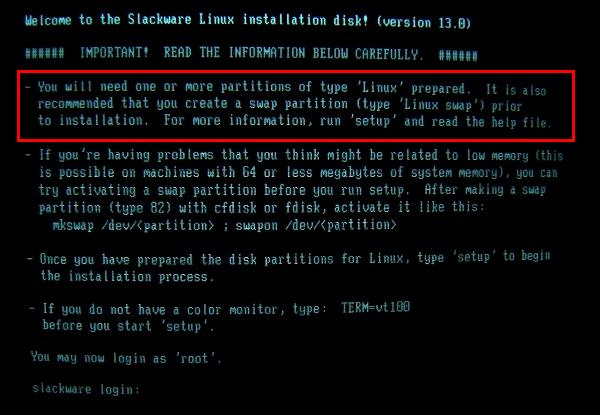
Log in by typing “root” and hitting enter.
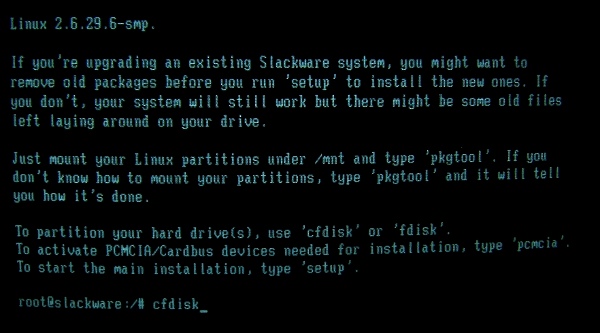
Since this is a clean install, I don’t have to worry about anything in the first two paragraphs on the screen above. But I do want to repartition and reformat my drive.
I find Linux cfdisk much easier to use than Linux fdisk. To start it, type “cfisk” at the prompt and hit enter.
The command returns a screen that displays your partitions at the top and disk operations at the bottom.
Use the up and down arrow keys to select the partition; use the left and right arrow keys to select the operation at the bottom. (In this case, I was doing a clean installation to a machine that had been running Slackware 12.2, so cfdisk shows the hard drive with two linux partitions: a primary partition containing the operation system and programs and a swap partition. See the note on Linux swap partitions at the end of the post.)
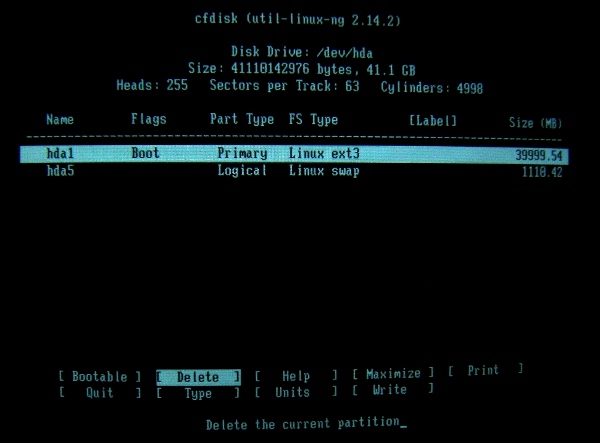
I first deleted the previous partitions. I used the up and down arrows to select the partition, then used the right arrow to move to the Delete command, then pressed enter for each partition. Then I wrote the new data to the disk by selecting the “Write” command. Because it is the “Write” command that actually changes the hard drive, cfdisk prompts for a confirmation and demands that you type “yes” or “no,” not just “y” or “n.”

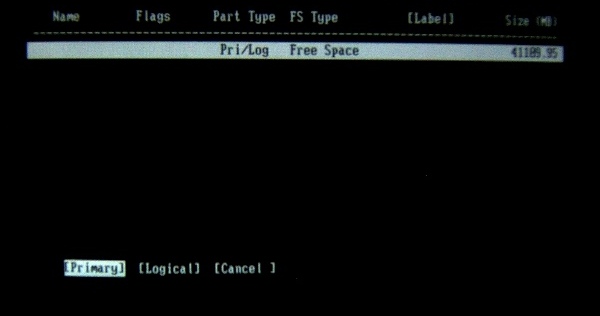
Next I created a new partition, using the right arrow key to move to the “New” selection on the bottom menu. Cfdisk asked me what type of partition it was to be; I selected Primary, since it was to be the boot partition:
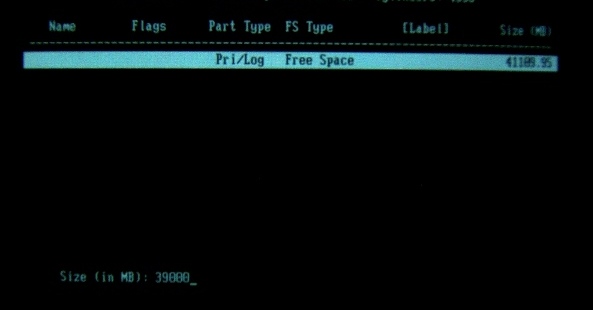
Then it asked me what size (full-size was the default choice, but I had to leave room for a swap partition); I selected 3900M (39 GB):
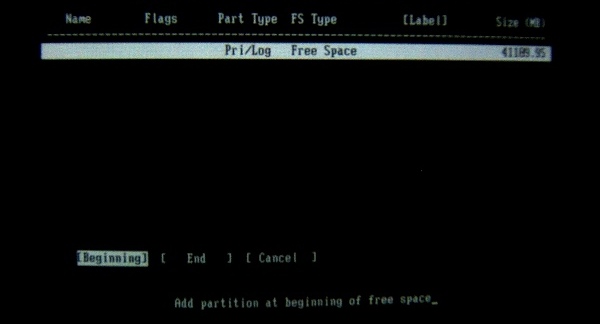
And tagged it to be at the beginning of the drive:
Next, I highlighted the remaining free space with the down arrow. This one I designated as “Logical” drive, accepted the default size (the remaining available space), and selected “Type” from the bottom menu to make it a swap partition. Selecting “Type” opens a menu of file-system types and defaults to type “82,” “Linux swap.”
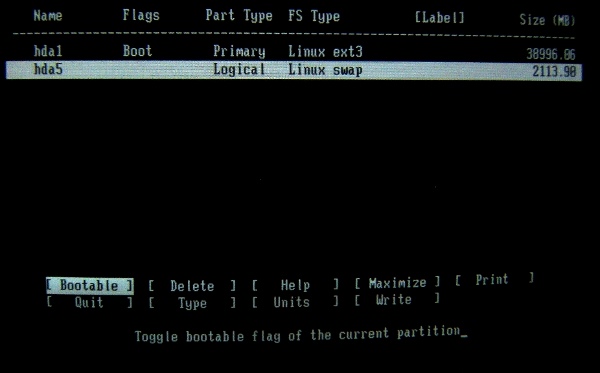
After writing these changes to disk with the “Write” command, the disk is ready to receive the OS. Now I can select “Quit” from the bottom menu, return to the command prompt, and install Slackware; that will be the subject of the next post.
In other installations, with larger hard drives, I’ve configured additional logical partitions in addition to the swap partition, primarily to make data easier to manage. But that goes beyond a simple Slackware installation.
Booting from CD:
If you are not sure how to get into the BIOS, reboot the computer; normally, during the memory check, a message such as “Press DEL (or F10 or F12 or some other key) to enter setup” displays. Pressing the designated key while this message is on the screen will take you to the BIOS settings. It’s perfectly safe to go in and have a look. Usually, on screen notes and explanations explain what you are looking at.
There is normally a setting called “Boot Order” or something similar where you can set the computer to boot from the CD.
When you get ready to exit, the BIOS will give you a choice to save changes and exit or discard changes and exit (the exact wording will vary)–if you aren’t sure of what you did, choose the latter. If you messed something up, reboot, go back into the BIOS, and fix it.
(If the machine is set for “Fast Post,” it might not offer much time to hit the “Setup” key; I remember sitting for half-an-hour with the IS guy at one of my jobs while the two of us kept trying to get into the BIOS of an IBM thin client box enabled for “Fast Post.” We had less than a second to hit the key. Once we hit the key at the right time, the first thing we did was turn off “Fast Post.” Then he did whatever it was he came down to do in the first place.)
Linux Swap:
By default, Windows swaps to a file on the C:\ drive called pagefile.sys (at least since Windows NT and its successors). Windows always swaps; the swap file is always present and taking up space even when the computer really isn’t doing anything much. Consequently, that file normally occupies lots of space, even when it’s not needed.
Linux, except for some of the netbook versions engineered for really small hard drives, wants to swap to a separate partition dedicated to that purpose. Linux also swaps only when it needs to. For example, I just checked the swap partition of the computer I’m typing on right now; it shows 1937 MB size, 1937 MB free.
I’ve read recommendations that Linux swap space should be at least one to one a half times the size of the RAM, but there doesn’t seem to be a hard and fast rule. I tend to err to making it a bit larger figuring that larger won’t hurt, especially in these days of huge hard drives. On my test computer with 264 MB RAM, the previous installation had about a gig of swap space; the new one has about two gigs. I have noticed no difference in performance.


