Fantom Drives XBox One Storage Hub Unbox and Install
I use my XBox more for media than I do games. But with the 500 GB drive inside this device, I kept the media on another drive. Fantom Drives has a solution to that, plus give me more USB options for keyboards, external drives and more. We’ll be unboxing and installing the XBox One Storage Hub onto my gaming machine.
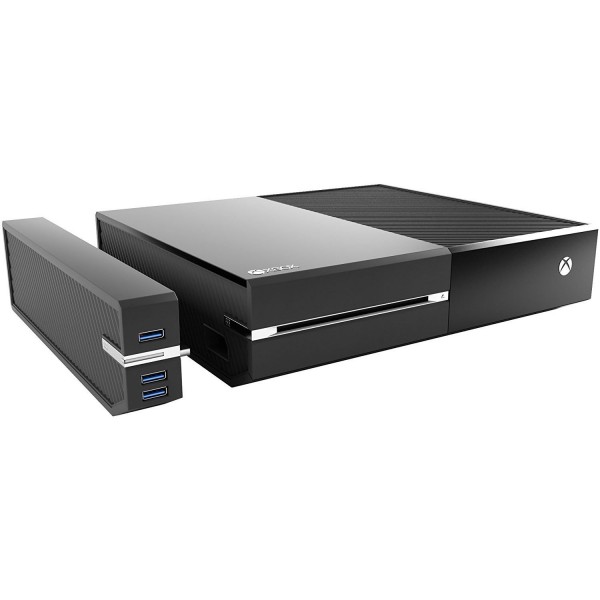
Unbox Fantom Drives XBox One HD and Storage Hub
Inside the box is simply the unit – with 2TB SSHD installed (mine had a Seagate Barracuda, brands may change). You can install your own, or upgrade to a 5TB HD, or 2 TB SSD. On the front is 3 USB 3.0 ports, and the back is external power (if needed).
Install Fantom Drives Storage Hub
Installation was fairly straightforward. Simply remove the side-plate, and attach to the hub. Then reinstall both items into the XBox One.
They recommend you stand the XBox One vertically for the install. Then it’s just plugging a USB dongle into the device.
Upon restart, the drive will be found, and will be recognized on the system.
Plugging in Accessories
The SSD drive I connected was recognized and looking for media to stream from. I plugged in a keyboard, and it was recognized as well. After the video, I tested with a few other devices, all performing like you would plugging into a computer.
Overall
Setup is easy. You can be back online within a half hour. Price for the hub starts at $119.95. You can get the Fantom Drives XBox Storage Hub on Amazon. You can also check out other options, including a PS4 upgrade kit, on the Fantom Drives website.
This was part of the Geekazine LIVE! show. Check it out at YouTube, or Twitch!
Subscribe to Geekazine:
RSS Feed - Via YouTube
Twitter - Facebook
- Tip Me via Paypal.me
- Send a Tip via Venmo
- RSS Bandwidth by Cachefly Get a 14 Day Trial
- Be a Patreon: Part of the Sconnie Geek Nation!
Reviews: Geekazine gets products in to review. Opinions are of Geekazine.com. Sponsored content will be labeled as such. Read all policies on the Geekazine review page.


