Streaming with DJI Osmo Pocket, Cosmostreamer, and Grip Gear Slider
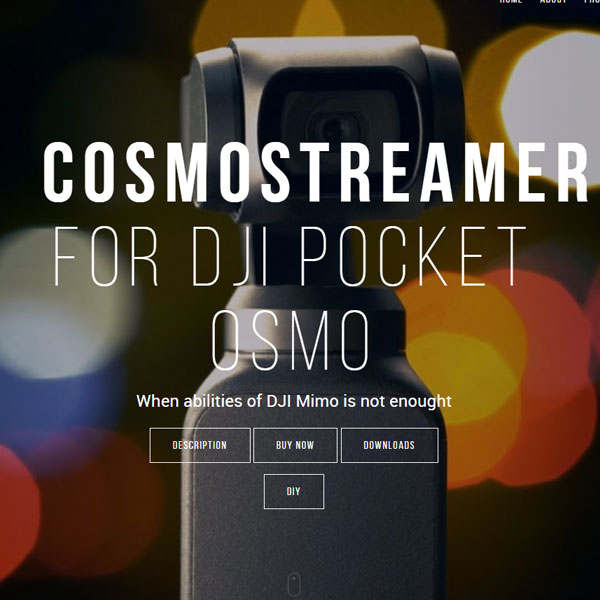
I fell in love with the DJI Osmo Pocket the first time I used it. This is an amazing 3-axis gimbal that can shoot video up to 4k. Perfect for when I’m on a shoot and need to get B-roll, or create a 2-camera interview environment.
But will it live stream?
I thought if I can connect it up to my streaming setup, I might be able to put it in places no other camera can go, and have a clear, stabilized video. So I started to ask – how can it be used to stream?
Enter in CosmoStreamer

Cosmostreamer.com is a site dedicated to taking your action cameras to another level. CosmoViewer for Windows/Mac is an app for many of your DJI products. Whether it be the Osmo Pocket, or Osmo, this software will allow for remote control of your devices.
In this case, we take a Raspberry Pi 3 A+ board and connect to the Osmo Pocket to not only facilitate the connection with the computer, but also output the video in whatever way you need – including sending to a live streaming service.
The Products Needed
CosmoStreamer does have a ready-made box available for $270. However, if you want to build it yourself, here are the ingredients:
- DJI Osmo Pocket (of course)
- OTG USB Adapter cable for the connection to the pi
- Raspberry Pi 3 A+ quad-core, 1.4 GHz with WIFI and Bluetooth
- Micro SD Card 8 GB or better
- USB WIFI Dongle to connect to a computer
Installation of CosmoStreamer
First, download the CosmoStreamer image. You will need an ISO imaging program such as Win32 Disk Imager. This will format the SD card and make it bootable with the software.

Slip the card into your Raspberry Pi, plug it into a video source, and turn it on. On the bottom-left corner, you will see the serial number of the pi. Record that, and send in an email to CosmoViewer for the license you purchased. They will send you a number.
Put the SD card back in the computer, and add a “License.txt” file. Within the file, simply put the number given into it, and save onto the card. Slip the card back into the pi.
Important Note: The input jack dongle on the side (either Lightning, or USB-C) has to be flipped inward for the camera to recognize the bottom USB port as a data recieving port.
Turn the pi on, plug in the pocket, and the video should pop right up.
Connect the Computer
Take the USB WIFI and plug into your computer. Configure to the pi – the default SSD is “CosmoStreamer” and “1234512345”. With the CosmoStreamer Go app, you will be able to adjust your Osmo Pocket, change resolutions, position, enable face tracking, and more.
Adding the Grip Gear Slider

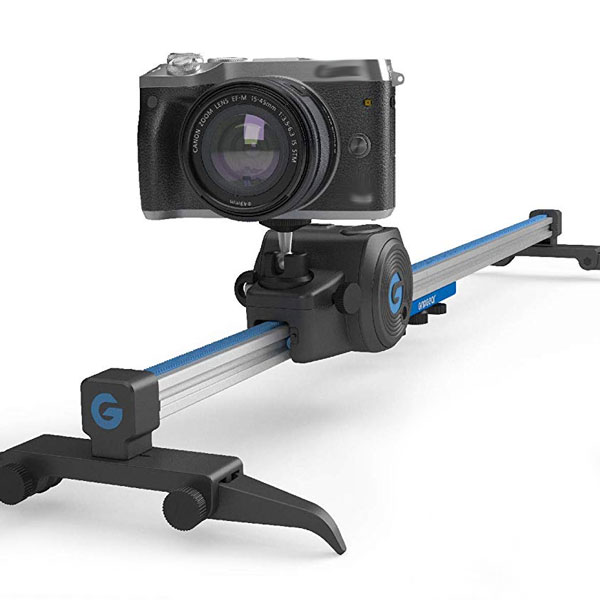
I wanted to test the power of the video stream, so I put it on a Grip Gear Camera Slider. Video runs on VBR, which means if the background doesn’t move, the system will assume those pixels are the same, therefore, sending less data through. However, with a moving picture, it has to send the full amount of data, as the pixels have changed.
This is a great proof of concept, for you can set a slider up close, attach a camera to it, and let it go. You can also use to move and position someone in frame, then switch to the video when ready (or record the scene).
Final Results
I found with the slider attached, or the camera being hand-held, the video is fairly stable, with very little pixelation or hiccups. In fact, the only real issue is the battery on the Osmo Pocket. The Pi does help keep it charged, but eventually, you’ll have to plug it in to charge.
Subscribe to Geekazine:
RSS Feed - Via YouTube
Twitter - Facebook
- Tip Me via Paypal.me
- Send a Tip via Venmo
- RSS Bandwidth by Cachefly Get a 14 Day Trial
- Be a Patreon: Part of the Sconnie Geek Nation!
Reviews: Geekazine gets products in to review. Opinions are of Geekazine.com. Sponsored content will be labeled as such. Read all policies on the Geekazine review page.


